Quick tip: Create a 'Self-assign button' for work packages
OpenProject enables you to manage projects quickly and successfully. A major advantage of OpenProject is its high level of customizability. However, due to the large number of options, it is not always easy to discover all the possibilities of OpenProject straight away. We would like to help our users with this. Read this article to find out how the Enterprise add-on ‘Custom Actions’ can be used to implement a button on work packages that allows you to quickly assign a work package to yourself.
About automated workflows with custom actions
Use OpenProject’s custom actions to standardize your workflows, avoid errors and reduce manual work for updates. Please note that these workflows with custom actions are an Enterprise add-on and only available for Enterprise on-premises and Enterprise cloud customers.
Every organization works differently with OpenProject and has its own processes and automatization. However, assigning a work package to yourself is an action that occurs frequently across organizations. With OpenProject, this usually only takes a few seconds, but you first have to click in the ‘Assignee’ field and then type and select your own name. If you do this several times a day or even several times a week, a single click on a button can save not only time but also nerves. This is energy that you can spend on the actual work instead of on project and task management.
So let’s dive into OpenProject’s custom actions and go through the process how to set up a custom action for a ‘Self-assign button’!
Step by step: How to create a ‘Self-assign button’
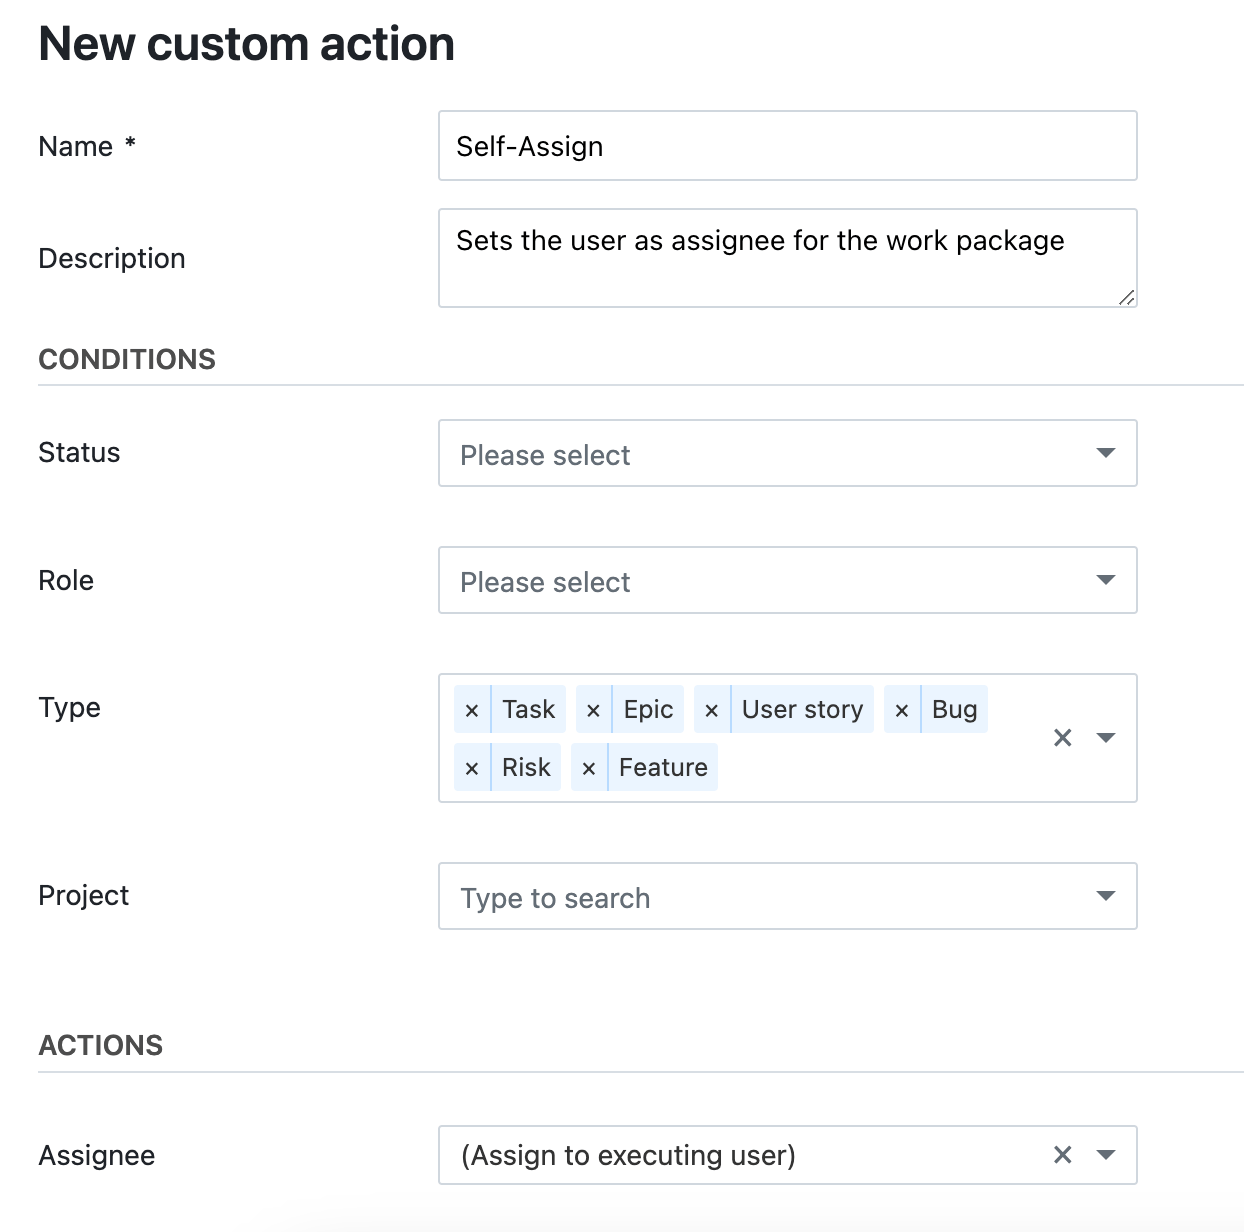
To create a new custom action button for your work packages, you need to have administration permissions. Navigate to administration/work packages/custom actions and press the green button ‘add custom action’. You will then see a screen that you fill out similarly like in this screenshot:

The name you enter in this form will appear on the work package. For example, you could name it ‘Self-assign’ or ‘Assign to me’. Just make sure that your users know what the button does based on this name. The description you type in will appear when the user’s cursor hovers over the button – so that any remaining uncertainties about what the button does are resolved.
Next, you set the conditions for which the custom action button should apply. Every field that you leave blank applies to all variables: For example, if the Self-assign button is to be displayed for all roles, simply leave the ‘Role’ field empty. In our example, I have specified the work package types where our new Self-assign button should appear.
Hint: It might make sense to set the conditions as precise as possible. For example, if you don’t want assignees for the work package type ‘Phase’ anyway, it might be helpful to simply exclude this type from the custom action - respectively include all other applicable types. This reduces the likelihood of someone accidentally clicking on this button.
When you’re done filling out the conditions, indicate the specific action that should happen when the button is clicked. To create the ‘Self-assign Button’, simply select ‘Assignee’ and then ‘Assign to executing user’.
Hint 2: Alternatively, you can also select a specific person or team to be set as an assignee when you click on the button. This custom action could be very useful for user testing, for example, if person A is always assigned to test a feature. In this case, however, the combination with the status (e.g. to ‘needs testing’) would be useful to change two attributes at once with the button: The assigned person AND the status.
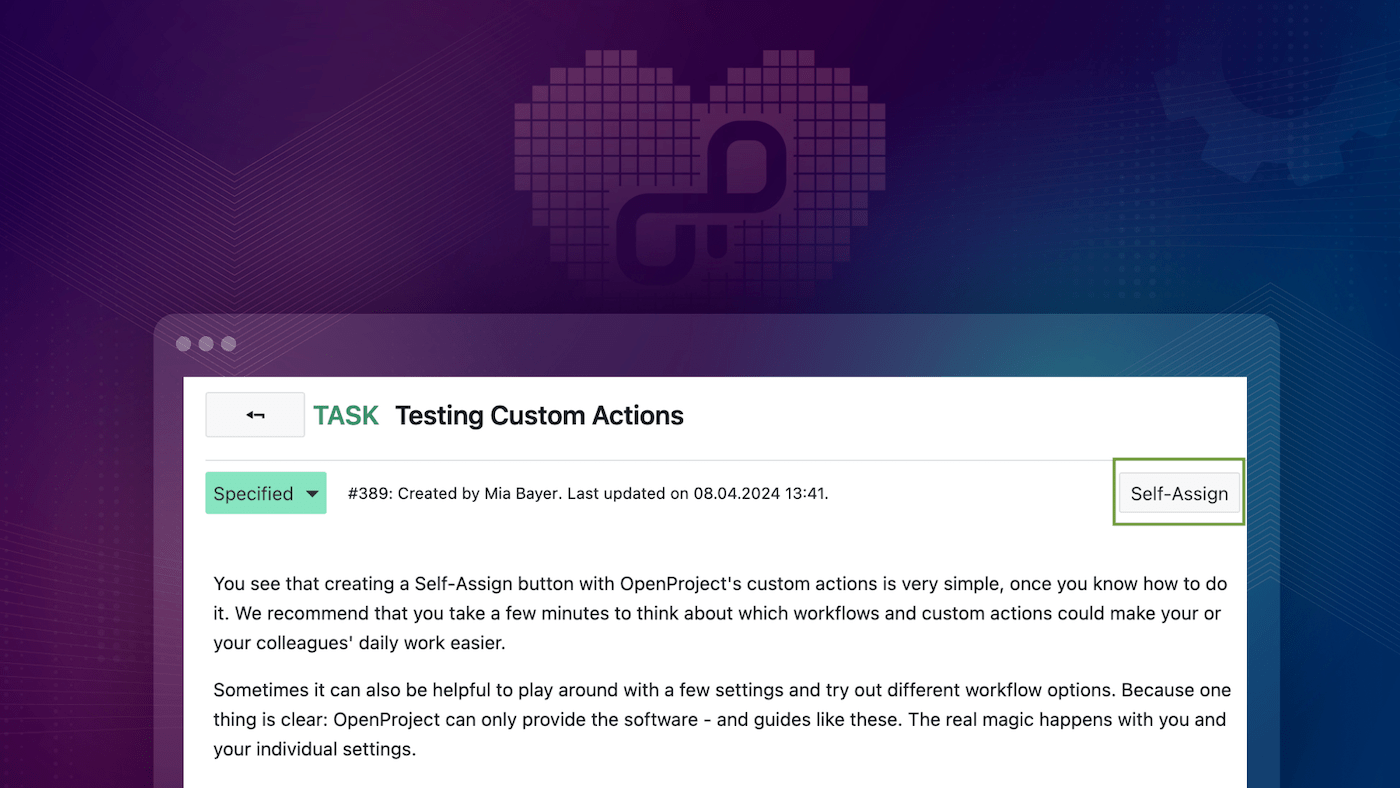
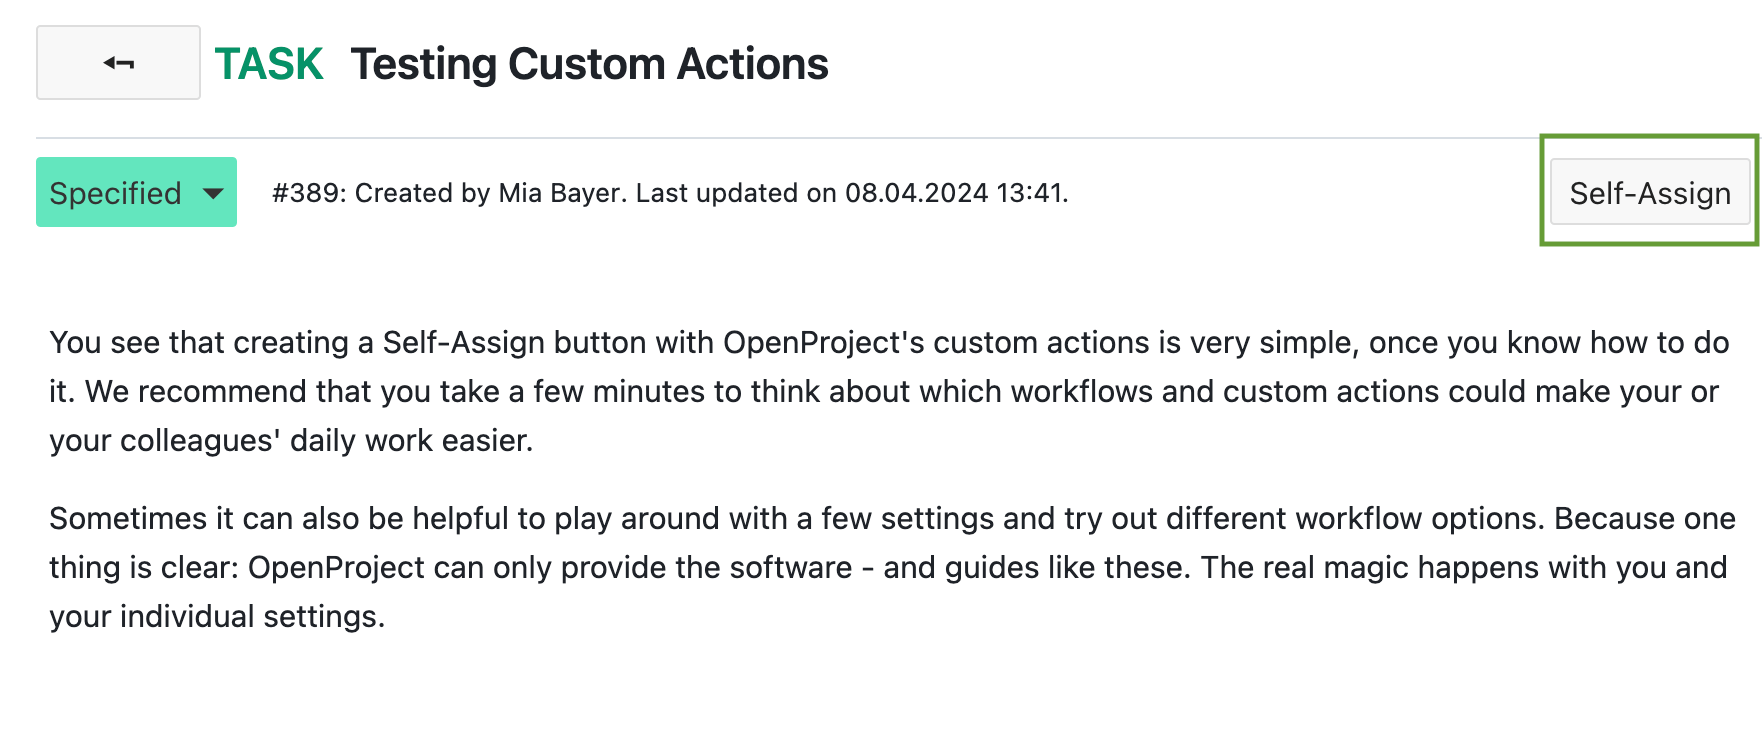
Save your changes and you’re done! To see if your new Self-assign button works as planned, open a work package for which the conditions you just specified are valid. You should then see the newly configured Self-assign button in the top right corner of your work package. Clicking it will apply the actions and changing the work package’s attributes as defined in the configuration.

Save time and bring more fun to project management
You see that creating a Self-assign button with OpenProject’s custom actions is very simple, once you know how to do it. We recommend that you take a few minutes to think about which automated workflows with custom actions could make your or your colleagues’ daily work easier. Be it a bug tracking process, handling of risks, ideas, approvals, or other workflows. Sometimes it can also be helpful to play around with a few settings and try out different workflow options. Because one thing is clear: OpenProject can only provide the software - and guides like these. The real magic happens with you and your individual settings.
Read here more about intelligent workflows with OpenProject – an article in which my colleague shows you how to create a custom action using an example for the design creation and approval process. Or watch this video on OpenProject’s Custom Actions (youtube).
What are your experiences with custom actions? Share them with the Community and exchange ideas in our forums so that everyone can benefit from your knowledge.


