
Start working with OpenProject - your first steps
After intense research and comparing different software providers, you might have decided to use the open source project management software OpenProject.
But where to start now? We would like to provide you with tips on how to get started to get the best out of OpenProject for your project management.
Follow these first 5 steps to get set up:
- Get an account and sign in
- Create a new project
- Invite team members to collaborate
- Create work packages
- Set up a project timeline
1. Get an account and sign in
When you subscribed to OpenProject Enterprise or when you are using the OpenProject Community edition, you created a URL for your OpenProject instance, e.g. example.openproject.com.
Activate your account
If you are not the one having set up OpenProject, you would have received an invitation to join OpenProject. Consequently, activate your account by using the link in your invitation email and provide the information necessary.
Sign in with an existing account
To sign in, enter the URL for your OpenProject instance in your browser, it will automatically open the sign in page for you. Type in your user name and password in the respective fields and click the blue Sign in button. With OpenProject Enterprise cloud or on-premises, you can use Two-factor-authentication which provides an additional security level. If it is activated, you will be asked to enter your second factor and then you are signed in.
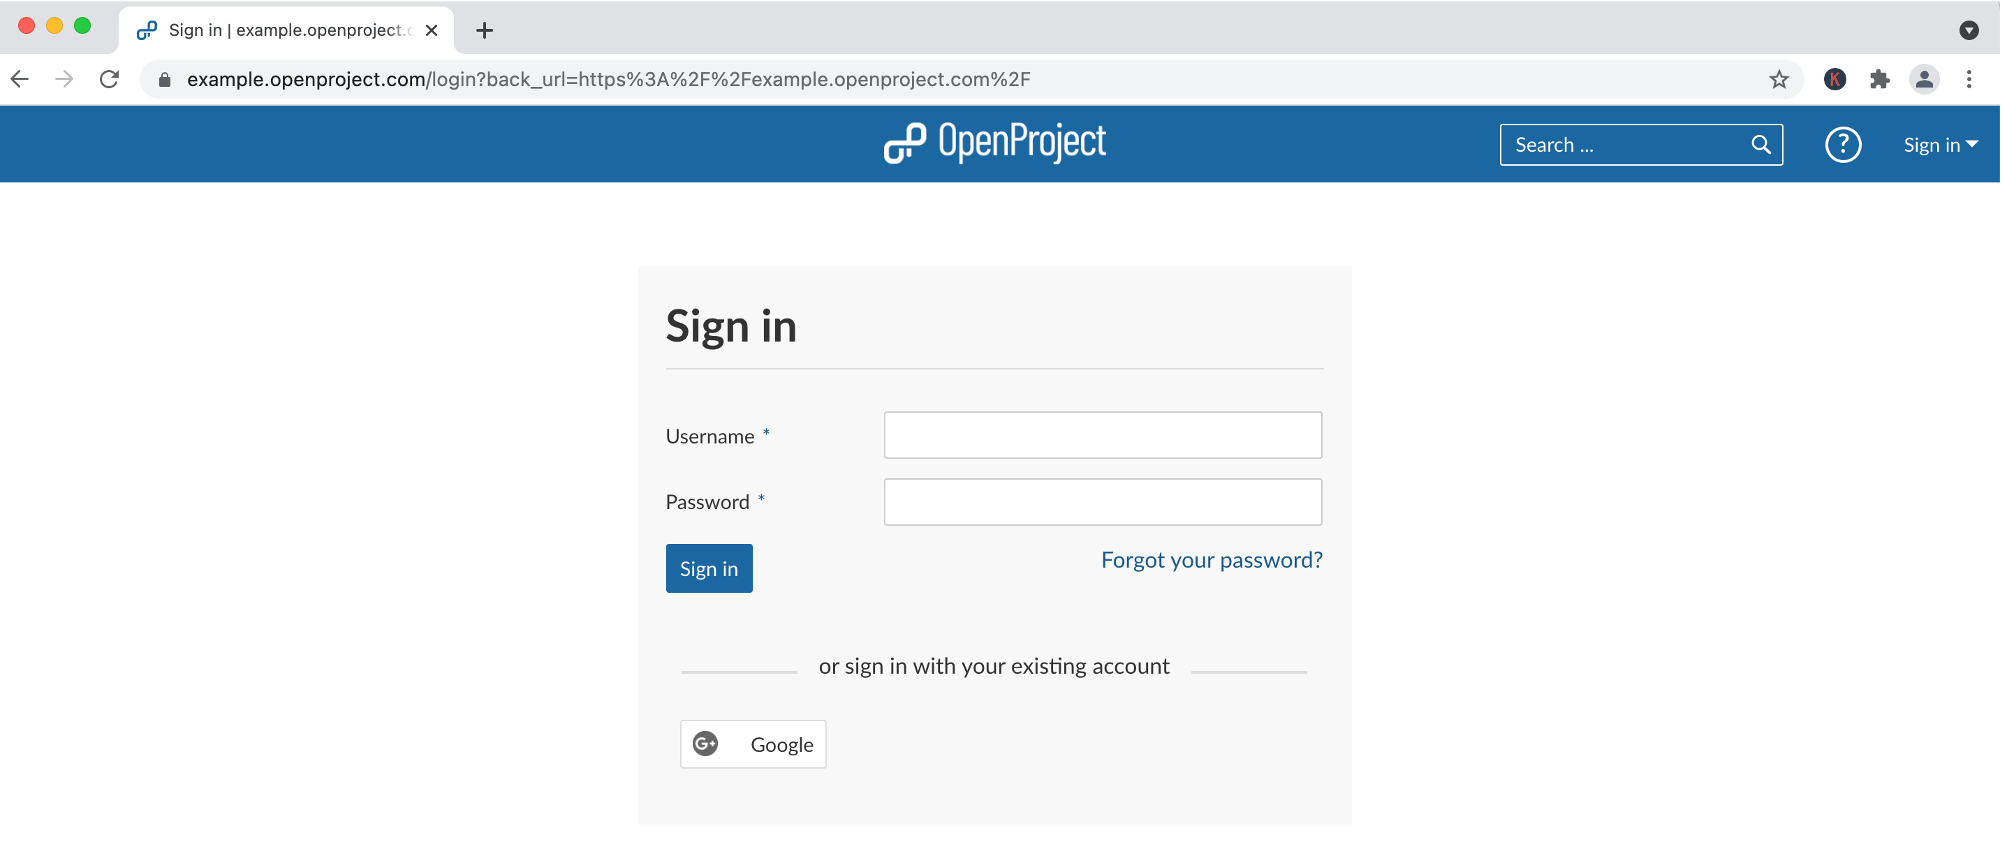
Alternatively for the OpenProject Enterprise cloud edition, you can also sign in from the OpenProject website. At the top right you find the sign in button. You need to enter your organization’s name that appears in the first part of your URL, e.g. example in example.openproject.com. Then follow the instructions, type in your user name and password and eventually your second factor. In case you do not remember your password, you find a link to reset it below the password entry in the sign in field.
Settings for your account
After signing in, you are able to set the language for your OpenProject instance. OpenProject is fully available in more than 15 languages. Check with your administrator in case your language is not showing, they might need to enable the language in the overall settings.
2. Create a new project
To start collaborating in OpenProject, you first need a project.
Existing projects
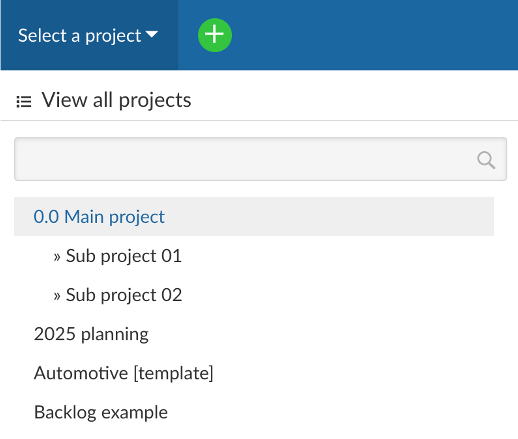
If one of your team members has already created one or more projects, you can find them in the drop-down menu at the top left. The projects will be displayed with their hierarchy, i.e. sub-projects underneath the parent project. Open any project by clicking on it.
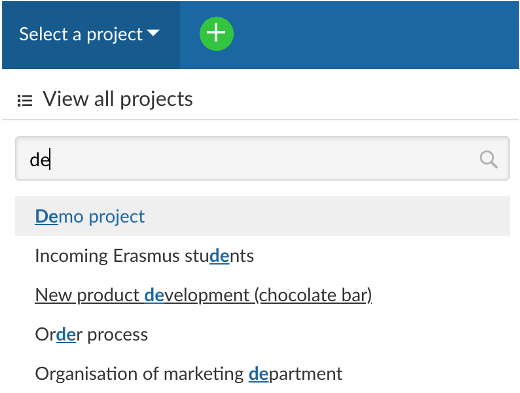
If you are looking for a specific project and cannot find it immediately, you can filter by starting to type the project’s name.
When you click on View all projects in the drop down menu, the project list with all projects will open where you can also browse through and select a project you want to have a look at.
Create a new project
Creating a new project is easy and can be done in different ways in the application. In the header menu you find the + button from where you can add a project.

Alternatively, on your start page you can use the + Project button.

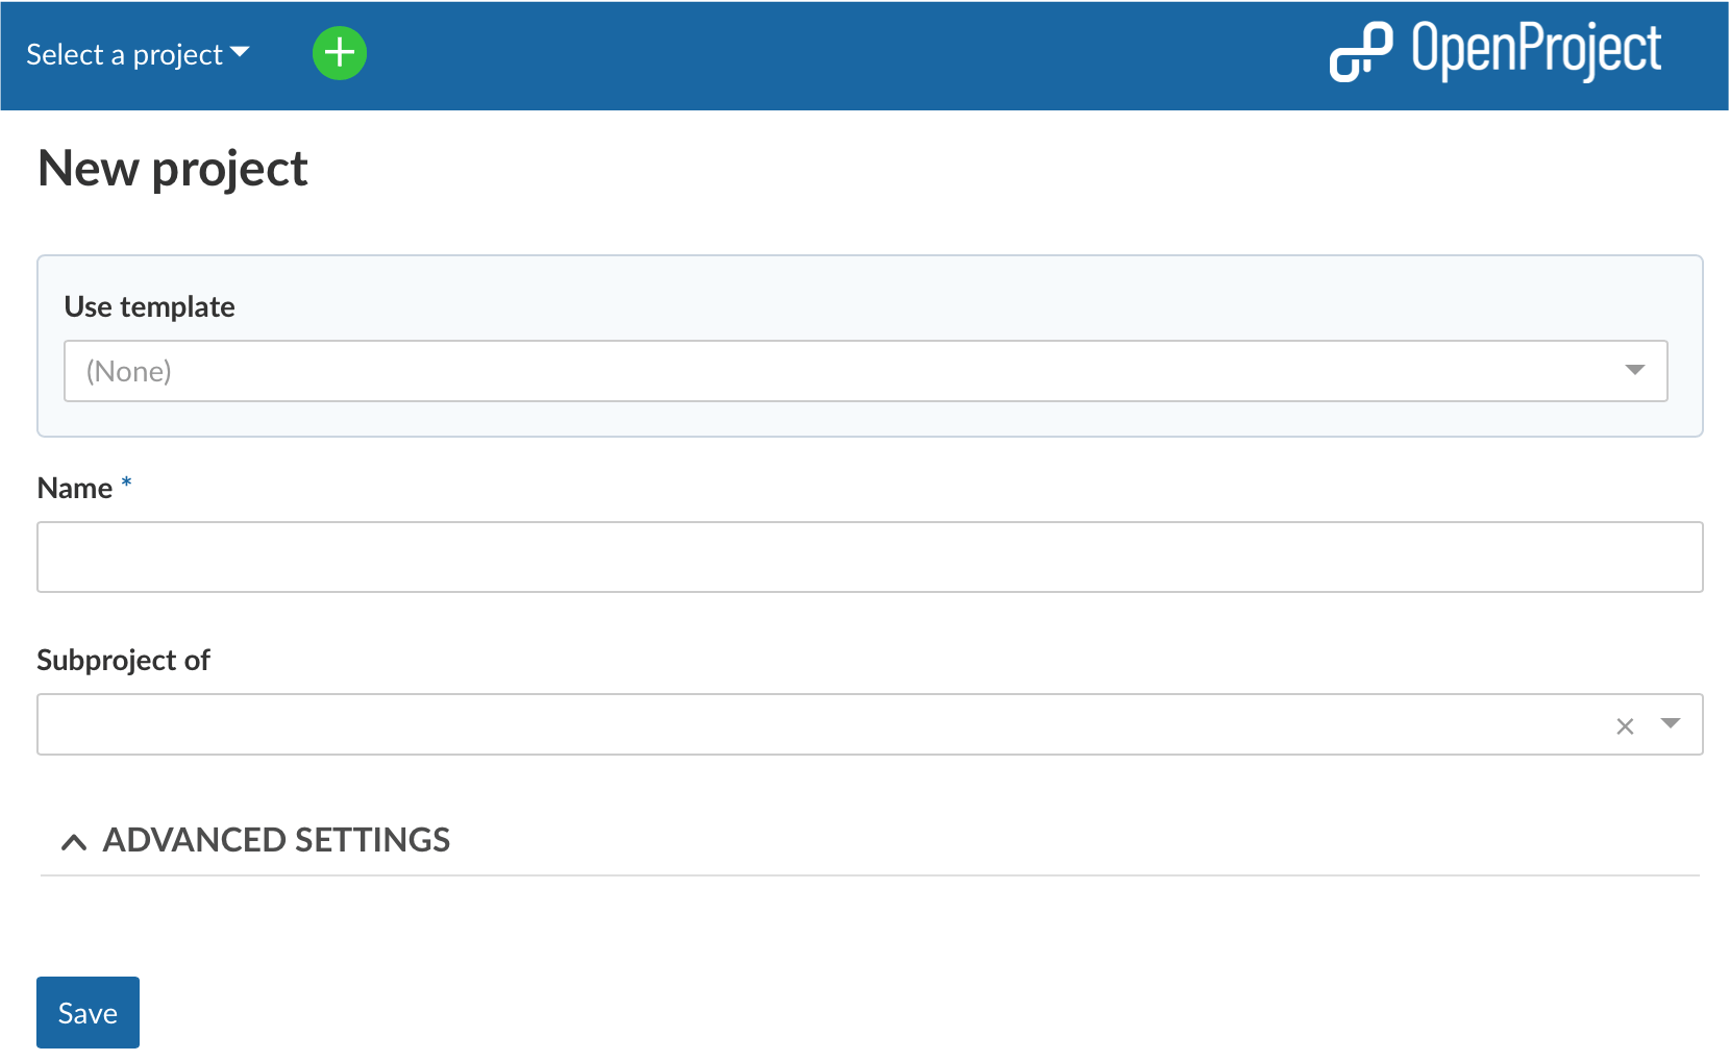
No matter which way you start creating your project, it will be followed with naming your project, assigning a template to it (if applicable) and deciding about its hierarchy, i.e. if it is a sub-project of an existing project. Under Advanced Settings you can add more information, e.g. description, project status, URL etc.
3. Invite team members to collaborate
In order to see a project and work in it, you have to be a member of a project. And as you want to collaborate in a team, you would want to add team members to a project.
To add existing users, placeholder users or groups to a project, select the project for which you want to add members. In the project menu on the left, select the Members module. The members list will come up and give you an overview of the current members of this project. To add an additional team member, click on the green + Member button. Type the name of the user, placeholder user or group which you want to add and choose the one(s) from the drop down by clicking on them.
To add members who do not have an OpenProject account yet, you follow the same process but type in the email address instead of choosing from the drop down. The Invite information will automatically appear in front of the email address. Press the Enter key or select the text “Invite …” to add the member.

There is another option to add a team member. You can use the green + button in the header from where you can follow the instructions to add either a new OpenProject user or add an existing user to a certain project. 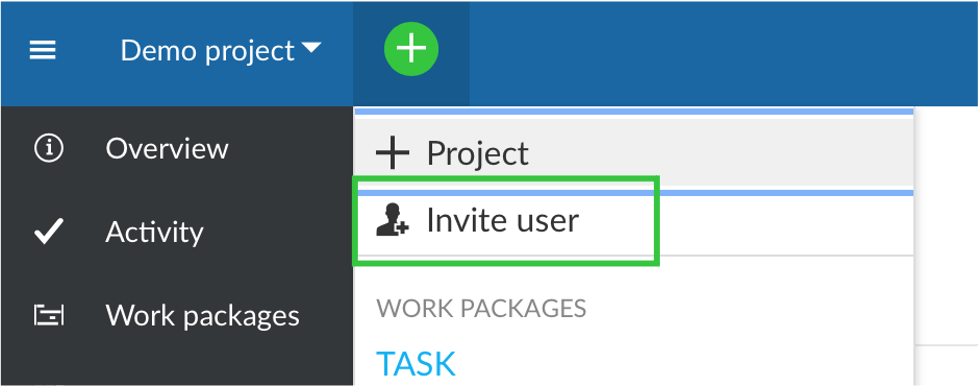
Please note that members in OpenProject can be individuals, groups or placeholder users.
4. Create work packages
Once you have set up a project or have access to existing projects, you would want to define the tasks that need to be done to close the project successfully. In OpenProject, you will use work packages to keep track of everything within your projects. A work package can be e.g. a task, a feature, a bug, a risk, a milestone or a project phase. You can use these work package types to establish all to dos for your project.
To get started, open the respective project you want to work in. Then the project menu on the left will appear and you can navigate to the module Work packages. Within the work packages module, click the green + Create button to create a new work package. In the drop down menu, choose which type of work package you want to create, e.g. a task or a milestone. Consequently, a split screen view is opened with the new work package form on the right and the list of already existing work packages on the left.

In the empty work package form on the right, you can enter all relevant information, e.g. subject and description, you can set an assignee, a due date or any other field. Moreover, you can add attachments to your work package.
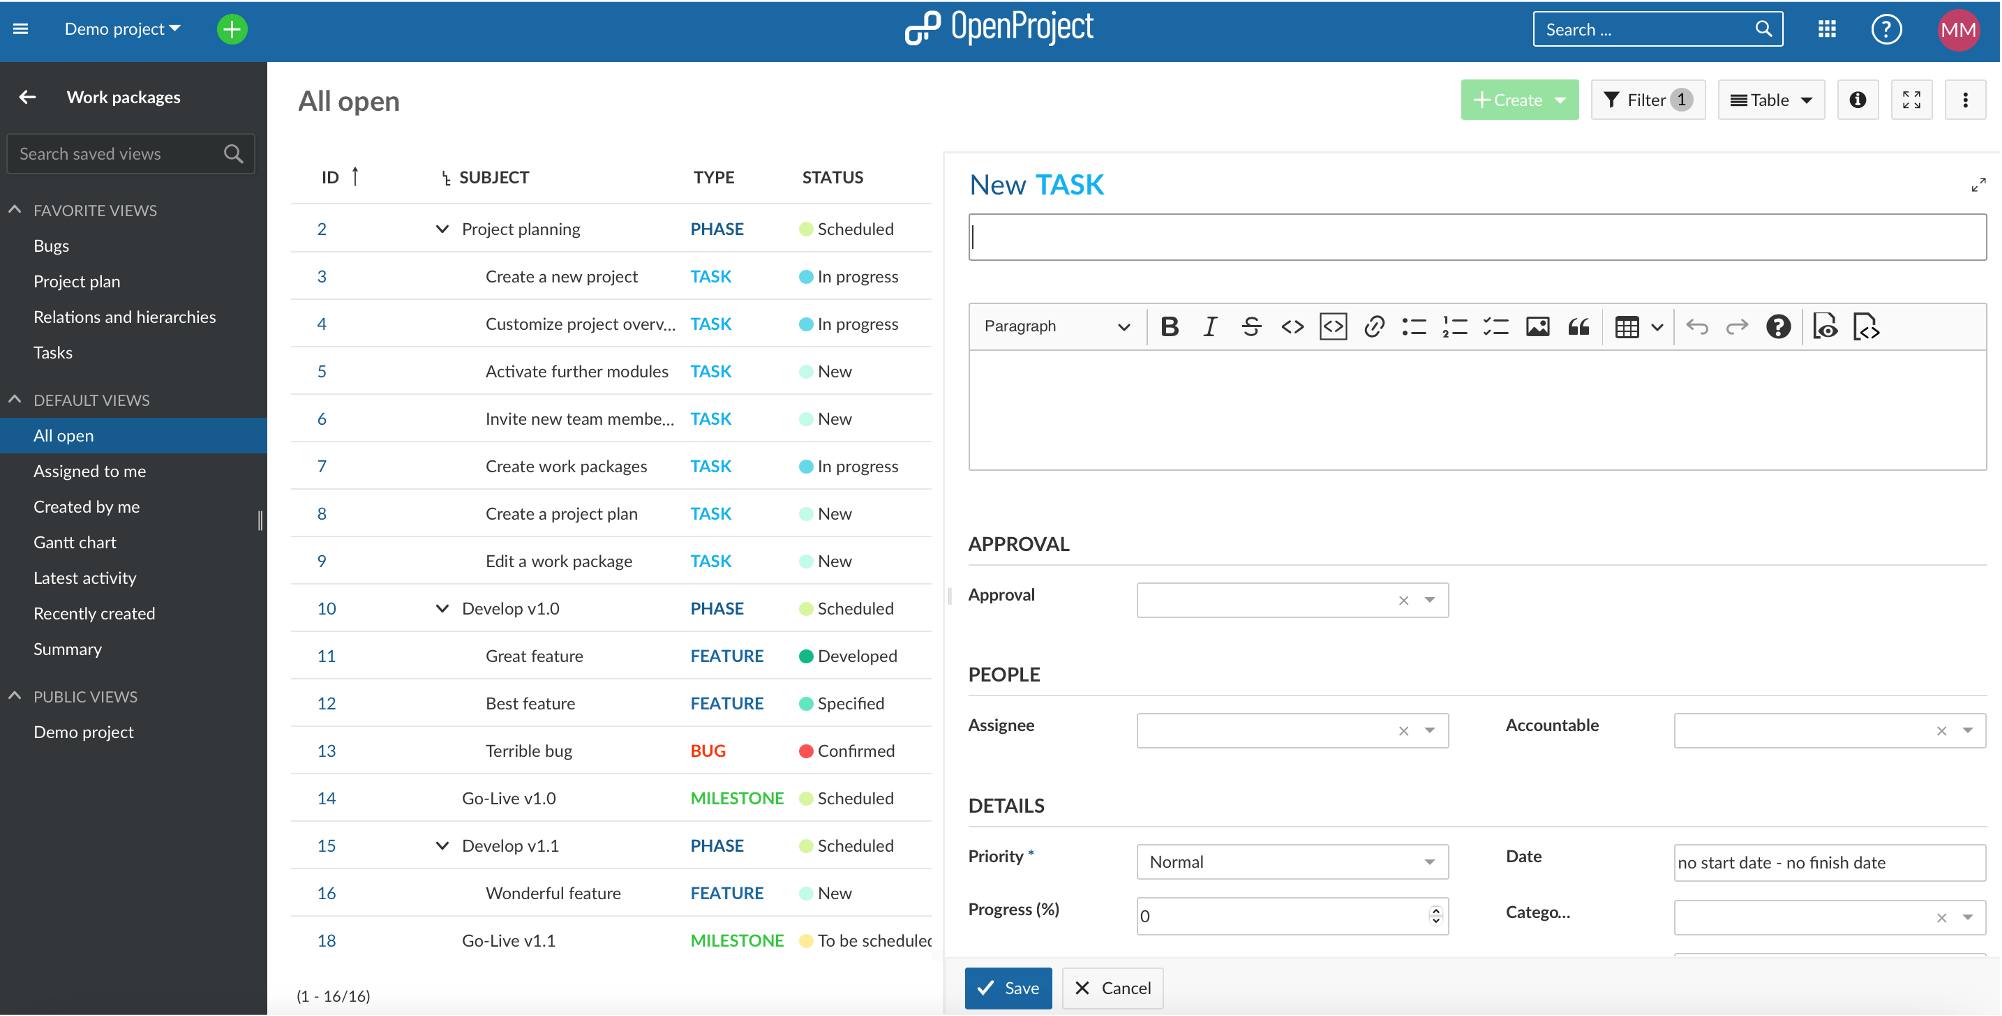
Instead, you can also create a work package straight from the header menu by clicking on the + button. Before going into the details of the work package, you will need to choose the project that you want to create the work package for. Then follow the above mentioned steps to define the work package and its attributes.
5. Set up a project timeline
The next step after having set up a project and defined the tasks is to establish a timeline for the project and thus an order for the work packages. Use the Gantt chart in your work package module to schedule your work packages and visualize the project plan. The Gantt chart is a bar chart that shows all work packages on the y-axis while the x-axis reflects time. The length of a work package bar represents the task’s duration. To start creating your timeline, open your project menu, navigate to the work packages module and select the Gantt chart view in the work package table at the top right. Then all work packages will be shown in the chart and you can schedule start and end date with drag and drop and define relationships and dependencies. Thereby, OpenProject offers you two different options of scheduling your work packages: top-down or bottom-up or combining both.
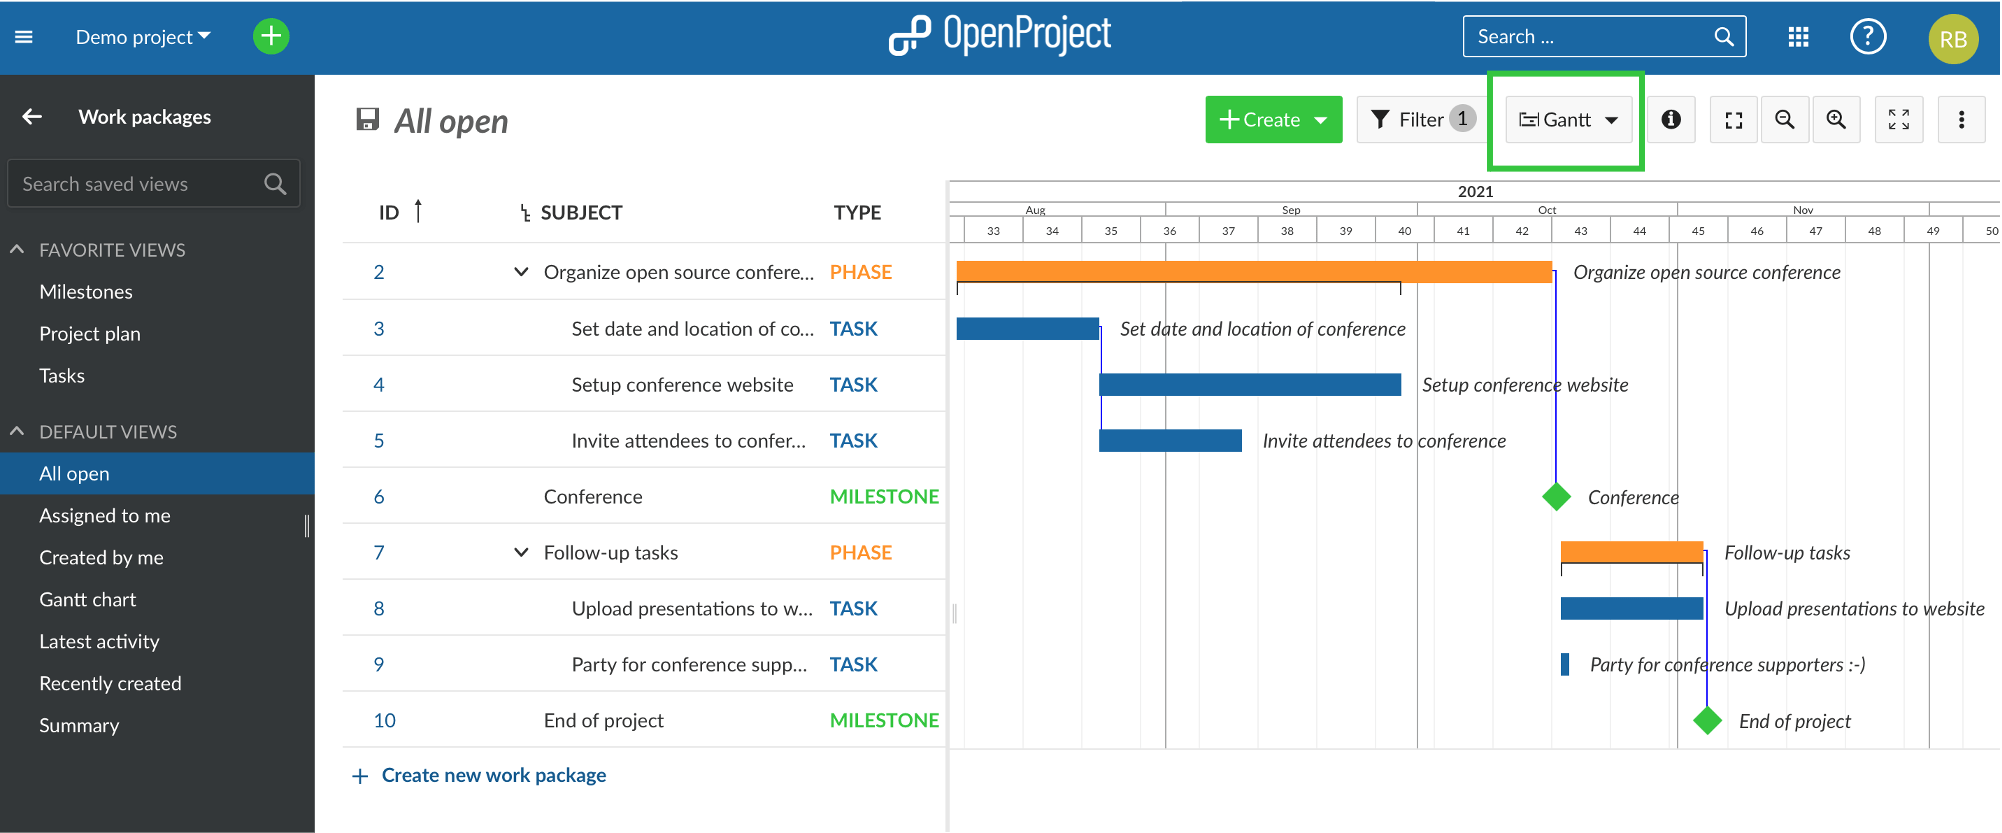
Benefit from OpenProject’s great advantage of web-based collaboration and plan your project collaboratively with your team. All team members have access to all project relevant information and can contribute their expert knowledge. Your planning will be more accurate than before.
Further tips
These are the first steps for you to get started with OpenProject. Read up more in the complete Getting started guide.
If you have more in-depth questions, please refer to our documentation where you will find a lot of step by step guides, videos and answers to FAQs. Our YouTube channel offers more videos and a webinar.
Try OpenProject now 14 days for free and follow the steps above to get started.


